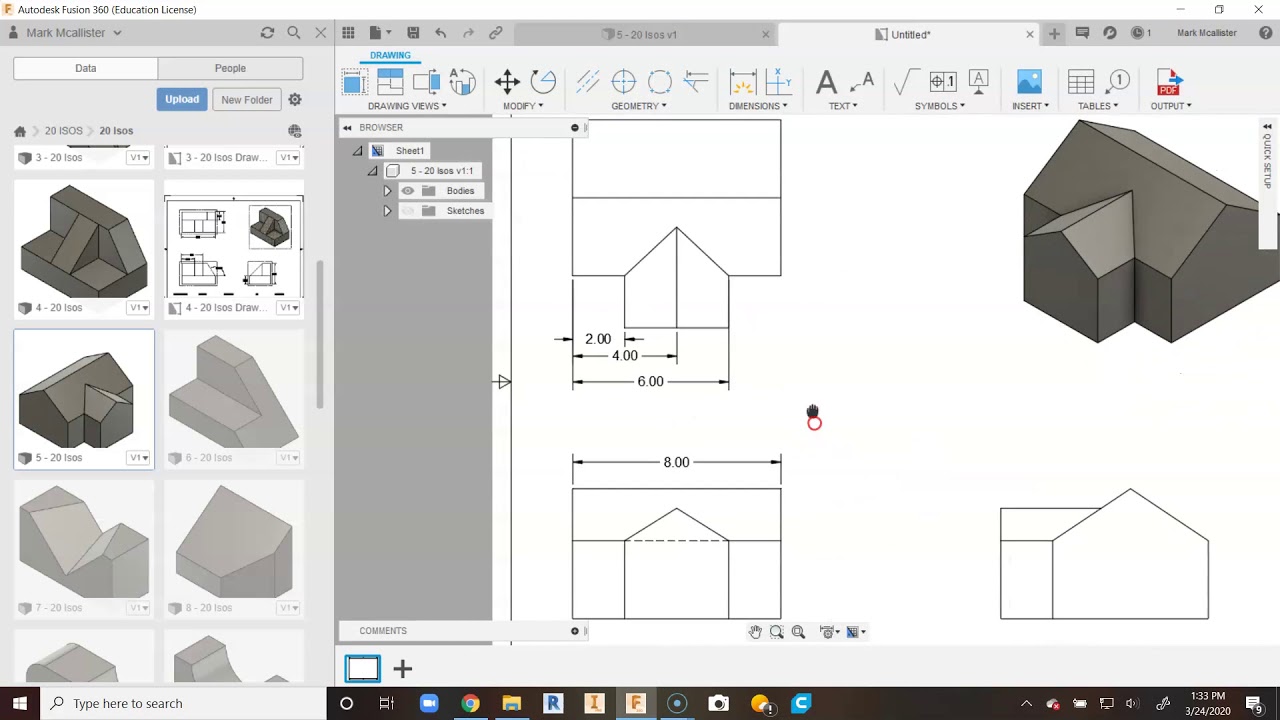
Projecting geometry in inventor drawing. If the selection target isn’t visible, rotate the model.
Projecting Sketch Geometry On Inventor Drawing, You can use projected geometry just like any other geometry in a drawing sketch. The following image shows how model geometry can be projected into a sketch. In the graphics area, click the geometry (edges, vertices, work features, loops, and curves from existing sketches) to project onto the sketch plane.

Within autocad you normally trim, extend, copy, mirror, hack, slash, and do whatever necessary to create the required geometry in as little of time. Copy previously created model edges and 2d sketch geometry into a 3d sketch. The rectangular pattern dialog box opens and select mode is active by default. The outline of the face or feature would then appear on the new sketch.
Pin on cadcam
If you�re working in an autodesk inventor assembly and you�re working top down, it�s likely that you will be projecting sketch geometry from one part to another. Project geometry to define the boundary for a breakout. In a sketch, click sketch tab constrain panel dimension (2d sketch) or 3d sketch tab constrain panel dimension (3d sketch). >the project geometry button is greyed out are you sure you started the sektch in the view? While in a sketch mode in inventor, using the project geometry command will allow you to reference geometry, bringing it into the sketch plane and automatically constraining the sketch geometry. I am currently working on a drawing and i am having problems projecting geometry on a sketch.

Taking It to the Next Level Drawing Automation with, This function is very useful, but it can get you into trouble, especially when working with assemblies. In the graphics window, click the geometry that you want to project onto the sketch plane. (i have found this to be the easiest way for beginners to make sure the sketch is at the view level rather than the assembly level.) >the.

From the Trenches with Autodesk Inventor Winning the, Use the projected geometry to create features associative to the parent part. In this particular example, the projected geometry is used to help define sketched lines. Sketch geometry that uses the default, normal linetype can be consumed by features. Copy previously created model edges and 2d sketch geometry into a 3d sketch. When using the project geometry tool in a.

Pin on cad, Here i�v offset a plane from faces and i�m projecting the plane. If you�re working in an autodesk inventor assembly and you�re working top down, it�s likely that you will be projecting sketch geometry from one part to another. The size and position of projected geometry is fixed relative to the originating sketch. I click on project geometry. In a.

Pin em Mechanical Engineering, Click the boundary of the view (red dashed rectangle should appear), do not move the mouse. If you�re working in an autodesk inventor assembly and you�re working top down, it�s likely that you will be projecting sketch geometry from one part to another. When using the project geometry tool in a 2d sketch from one part to another, depending on.

Inventor Drawing See Sketch Points In Dwg Sketch Drawing, On the ribbon, click sketch tab draw panel project geometry. The rectangular pattern dialog box opens and select mode is active by default. Instead of it projecting to the surface i am working on it is projecting to the same surface i want projected from. >the project geometry button is greyed out are you sure you started the sektch in.

Solved Projecting Geometry in Inventor Drawing Autodesk, In the graphics window, select the geometry to pattern. This function is very useful, but it can get you into trouble, especially when working with assemblies. In a sketch, click sketch tab constrain panel dimension (2d sketch) or 3d sketch tab constrain panel dimension (3d sketch). Autodesk inventor 2021 essential training topics include: Projecting geometry ok, here we go again.

Inventor tutorial Creating Sketch Geometry YouTube, Manually, i would do it by right clicking on the sketch (named etch in this case) in the drawing/model tree, and selecting display reference. Create a sketch attached to a drawing view, or open an existing sketch. Creating sketch geometry within inventor typically takes on a completely different approach than in autocad. In the graphics window, click the geometry that.

sketch lines and projecting geometry Autodesk Community, I click on the items to project. Project geometry and use it to define a rectangular or circular pattern. In the rectangular pattern dialog box, click the selection tool under direction 1 and then select geometry to define the first direction for the. In a sketch, click sketch tab constrain panel dimension (2d sketch) or 3d sketch tab constrain panel.

Inventor Drawing Orthographic Projection YouTube, In a sketch, click sketch tab pattern panel, click rectangular. The following image shows how model geometry can be projected into a sketch. In the rectangular pattern dialog box, click the selection tool under direction 1 and then select geometry to define the first direction for the. Within autocad you normally trim, extend, copy, mirror, hack, slash, and do whatever.

project Geometry in Inventor Autodesk Community, In the graphics window, select the geometry to pattern. In a 3d sketch, the dimension text is parallel to a plane created by the two selections. Within autocad you normally trim, extend, copy, mirror, hack, slash, and do whatever necessary to create the required geometry in as little of time. When using the project geometry tool in a 2d sketch.

Solved Projecting Geometry in Inventor Drawing Autodesk, Project geometry and use it to define a rectangular or circular pattern. In inventor, you can project geometry from existing objects onto the active sketch plane. In an inventor assembly i would simply edit the desired part, start a sketch on a surface, hit the project geometry button, and click on the face or feature on another part that was.

Solved Projecting sketch geometry into assembly sketch, I click on created sketch and the surface to create sketch on (for this example the right surface of extrusion). I teach my students to click in the viewport and then hit s on the keyboard rather than go up to the sketch icon. You can use projected geometry just like any other geometry in a drawing sketch. Autodesk inventor.

ASSIGNMENTS 2, In a sketch, click sketch tab pattern panel, click rectangular. This function is very useful, but it can get you into trouble, especially when working with assemblies. The rectangular pattern dialog box opens and select mode is active by default. If the selection target is not visible, rotate the model. In a sketch, click sketch tab constrain panel dimension (2d.

Autodesk Inventor 2016 Lesson Project Geometry, Project geometry to define the boundary for a breakout. Then, from within a sketch, use project dwg geometry to project in reference objects from the autocad drawing. In a 3d sketch, the dimension text is parallel to a plane created by the two selections. I am currently working on a drawing and i am having problems projecting geometry on a.

Reusing Sketch Geometry in Inventor YouTube, On the ribbon, click sketch tab draw panel project geometry. The code look at body and at every edge create a plane by point and line (same edge), on this plane it create a sketch then it�s projecting 2 faces (left and right faces of the edge. I click on project geometry. The view that i am trying to project.

ISOMETRIC DRAWING PART 1 AUTODESK INVENTOR YouTube, Project geometry and use it to define a rectangular or circular pattern. The outline of the face or feature would then appear on the new sketch. Within autocad you normally trim, extend, copy, mirror, hack, slash, and do whatever necessary to create the required geometry in as little of time. In a sketch, click sketch tab pattern panel, click rectangular..

Pin by Max Adams on CAD Pinterest, Geometry in a drawing view can be projected to a sketch associated with the view. Hit s on the keyboard to start a sketch within the view. Also, for anyone interested, the concept of using adaptive geometry is a heated debate, just like move face in solidworks. (i have found this to be the easiest way for beginners to make.

Unable to project curved geometry to sketch in Inventor. cad, Also, for anyone interested, the concept of using adaptive geometry is a heated debate, just like move face in solidworks. On the ribbon, sketch tab draw panel, click project geometry. I have created the sketch on the view level (select view and hit �s�) but when i select the geometry to project no geometry is created. Creating sketch geometry within.

Pin on cadcam, In a drawing, project some edges from a view, add geometry to create a closed boundary, and then add hatch or color fill. In a sketch, click sketch tab pattern panel, click rectangular. The view that i am trying to project is on a section view and which i think may. You can automatically project sketch geometry by clicking tools.

27Projected Geometry for Autodesk Inventor 2020 YouTube, The size and position of projected geometry is fixed relative to the originating sketch. Use the projected geometry to create features associative to the parent part. In the rectangular pattern dialog box, click the selection tool under direction 1 and then select geometry to define the first direction for the. This is one of those features that kind of falls.

Autodesk Inventor Drawing Projects MCMSPLTW, I click on project geometry. You can automatically project sketch geometry by clicking tools > options panel > application options, and in the sketch tab of the dialog box, select autoproject edges during curve creation. I click on created sketch and the surface to create sketch on (for this example the right surface of extrusion). In the graphics window, select.

ENGR1304 Working Drawings in Inventor pg 341, The view that i am trying to project is on a section view and which i think may. In a sketch, click sketch tab pattern panel, click rectangular. From here, i want to display the sketch�s projected geometry. Project some geometry from a view, add geometry to create a closed boundary, and then add hatch or color fill. You can.

From the Trenches with Autodesk Inventor Winning the, Select the geometry to project. Projected geometry keeps its association to the parent geometry in the view. Project geometry and use it to define a rectangular or circular pattern. I have created the sketch on the view level (select view and hit �s�) but when i select the geometry to project no geometry is created. In a sketch, click sketch.

Autodesk inventor 2013 Drawing Projected Section View Tip, In a sketch, click sketch tab pattern panel, click rectangular. In a 3d sketch, the dimension text is parallel to a plane created by the two selections. You can constrain sketch geometry to the projected geometry. That way they are assured. I am currently working on a drawing and i am having problems projecting geometry on a sketch.

Solved Inventor Drawing Dimension Lines Partially, Hit s on the keyboard to start a sketch within the view. That way they are assured. This is one of those features that kind of falls between sketching and part. You can automatically project sketch geometry by clicking tools > options panel > application options, and in the sketch tab of the dialog box, select autoproject edges during curve.